(image: inside the White House)
In April, Pete and I took our girls to Washington D.C. It was a near-perfect family road trip. On the way, we stopped in Philadelphia to see some good friends and their baby boy. We ate some amazing deep dish pizza at a place called Square Pie and then swung by Reading Terminal Market to grab a few Amish doughnuts!
 (image: Mount Vernon mansion)
From there, we headed straight to Mount Vernon on about the most beautiful day ever. My older daughter, Abigail, is into the presidents at the moment, and she was super excited to see George Washington's homestead.
 (image: Avery and the Washingtons)
I would definitely recommend the "enhanced" tour so that you're able to check out the basement and the attic of the main house. Another cool building is (the recreation of) the barn at the Pioneer Farm site—a 16-sided barn designed by GW himself. We had the best day of wandering around the whole property; our only regret is that we didn't have enough time to take it all in!
 (image: Abigail and Avery check out the Air & Space Museum exhibit)
Once in DC proper, we settled in and went about doing most of the touristy things that tourists can do. The pandas at the National Zoo—check! The Wright brothers’ first airplane at the Air & Space Museum—check! Family photo op at the feet of Abraham Lincoln—check!
 The Hope Diamond and the Butterfly Pavilion at the Museum of Natural History—check, check! We were doing it all!
One thing we did miss was climbing up the Washington Monument. The girls were disappointed but you need to be in line really early for tickets. I maaaay have been grabbing a cup of Starbucks at the time. I'm kidding!

 We queued up at 7 am for the White House tour, which in my opinion trumps a walk up the Washington Monument (if you read not-even-that closely, there's an unintentional political pun in there).

 (image: The Green Room of the White House)
The White House tour was definitely worth the email to our Congress person. And thanks to President & Mrs. Obama you can snap pictures like crazy in there!
 (image: Abigail in wonderment of Gabriel Dawe's threaded installation)
Another highlight was the Renwick Gallery, located across Pennsylvania Avenue from the White House. It's an architectural gem saved by Jackie Kennedy back in the day. After a recent renovation, it currently houses an exhibit called "Wonder," which we—including the kids—found (pardon me) truly wonderful. Thanks for the recommendation, Clayton!
 We had such a blast with the girls: they were troopers during the car ride (thanks in part to Apple, Inc.), and were as enthusiastic as we were about all the sights! Even just staying in the hotel was exciting to them, which I remember from being a kid (ice machine, anyone?). Our trip was bookended with a stopover on the Eastern Shore of Maryland to see friends. After a delicious dinner, good conversation, and a stunning sunset, we settled in for our last night of vacation and drove home the next day looking at pictures and taking naps!
Read more

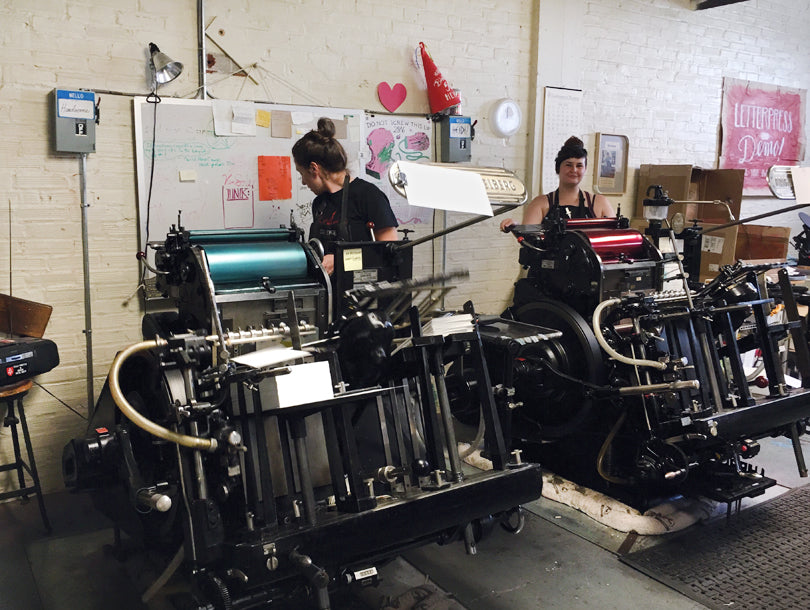 THE GOOD. Our new print shop manager, Julie, officially started! Brimming with energy and passion for letterpress, Julie moved all the way from Wisconsin to take the job, and we couldn't be happier. Emily and Margaret are throwing a lot at her as we have a ton to print right now but that isn't phasing her one bit. She's already learned how to sweet talk to Heidi and Handsome. Welcome to the team, Julie!
 (image: inside the White House)
 (image: Mount Vernon mansion)
 (image: Avery and the Washingtons)
 (image: Abigail and Avery check out the Air & Space Museum exhibit)
 The Hope Diamond and the Butterfly Pavilion at the


 (image: The Green Room of the White House)
 We had such a blast with the girls: they were troopers during the car ride (thanks in part to Apple, Inc.), and were as enthusiastic as we were about all the sights! Even just staying in the hotel was exciting to them, which I remember from being a kid (ice machine, anyone?). Our trip was bookended with a stopover on the Eastern Shore of Maryland to see friends. After a delicious dinner, good conversation, and a stunning sunset, we settled in for our last night of vacation and drove home the next day looking at pictures and taking naps!
 I’m also excited to share these printable summer party invites with you! When I was coming up with ideas for what to design, I thought of all the big summer parties I've been to over the years and what those involved. Whether it's a potluck or a cookout, there's always the same key component


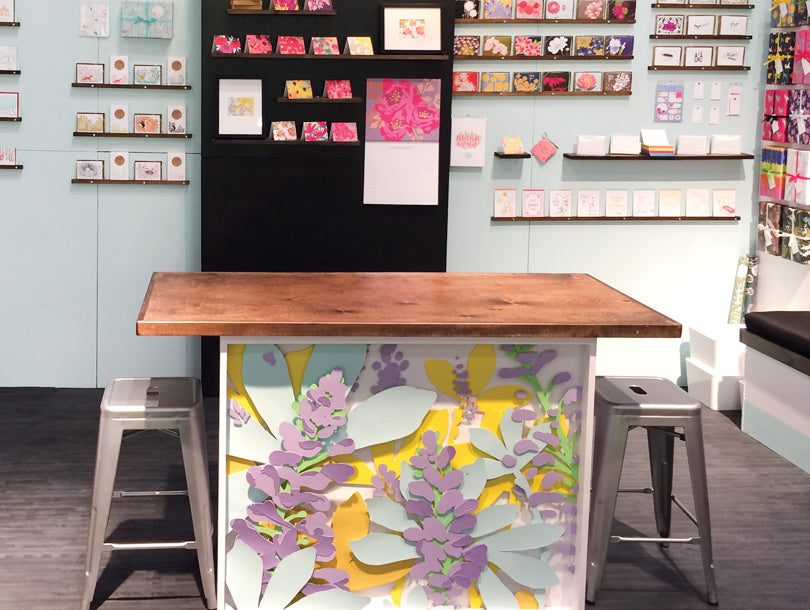
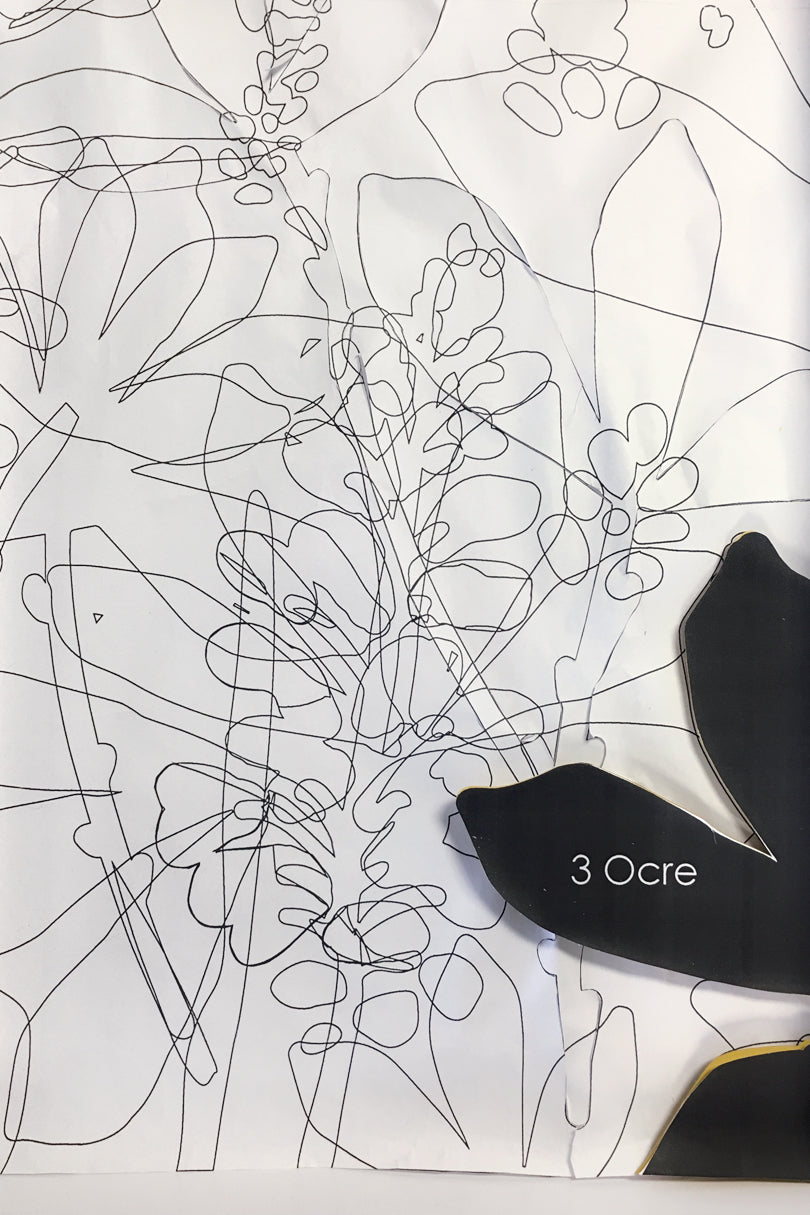
 To my excitement (and humbling surprise), I was given free rein to design a creative art installation for our trade show booth. The initial idea was to adapt one of our floral note card designs into a 3-dimensional piece made entirely out of paper. In the end I needed to build three pieces: one would go on the front of our counter and the other two would be mounted on the short wall extensions (called returns in trade show booth speak). I borrowed inspiration and know-how from Anthropology windows, restaurant signage, and Deb's to-scale architectural renderings. For the end concept, I envisioned multiple layers of floral and botanical shapes within shadow-box-like frames.
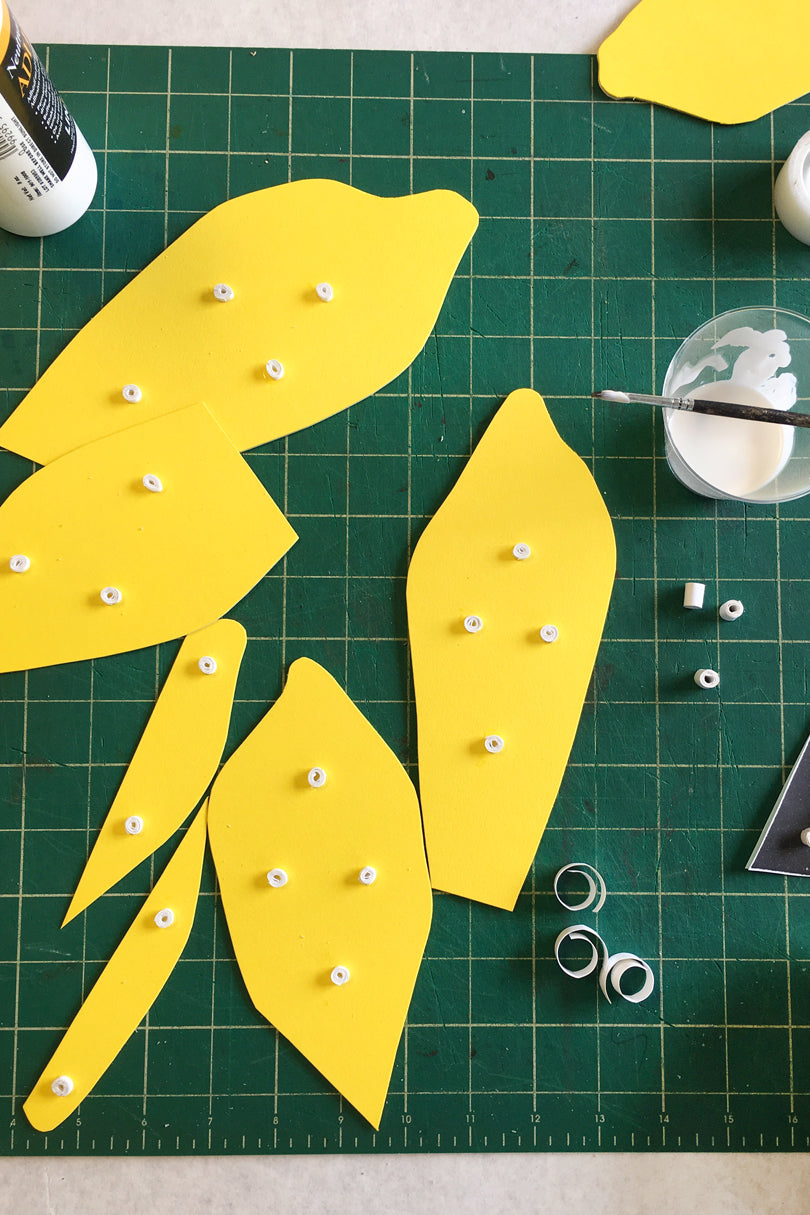
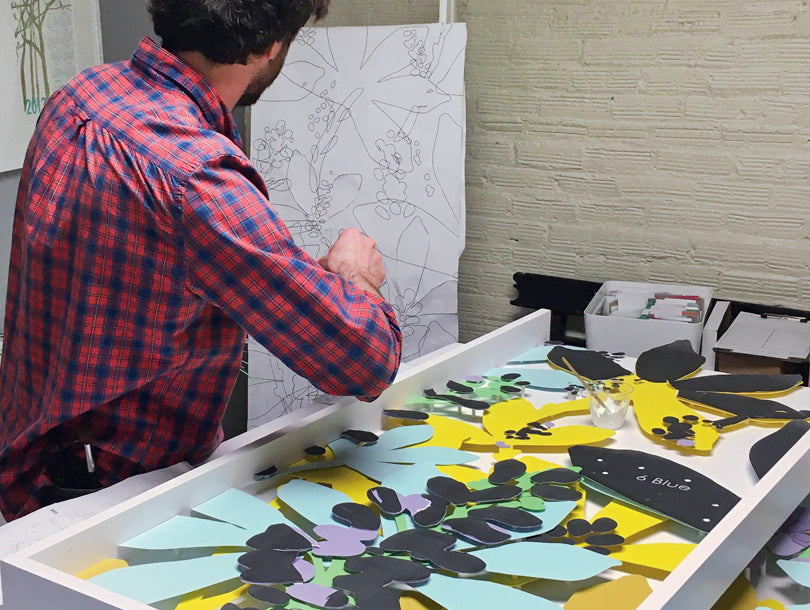
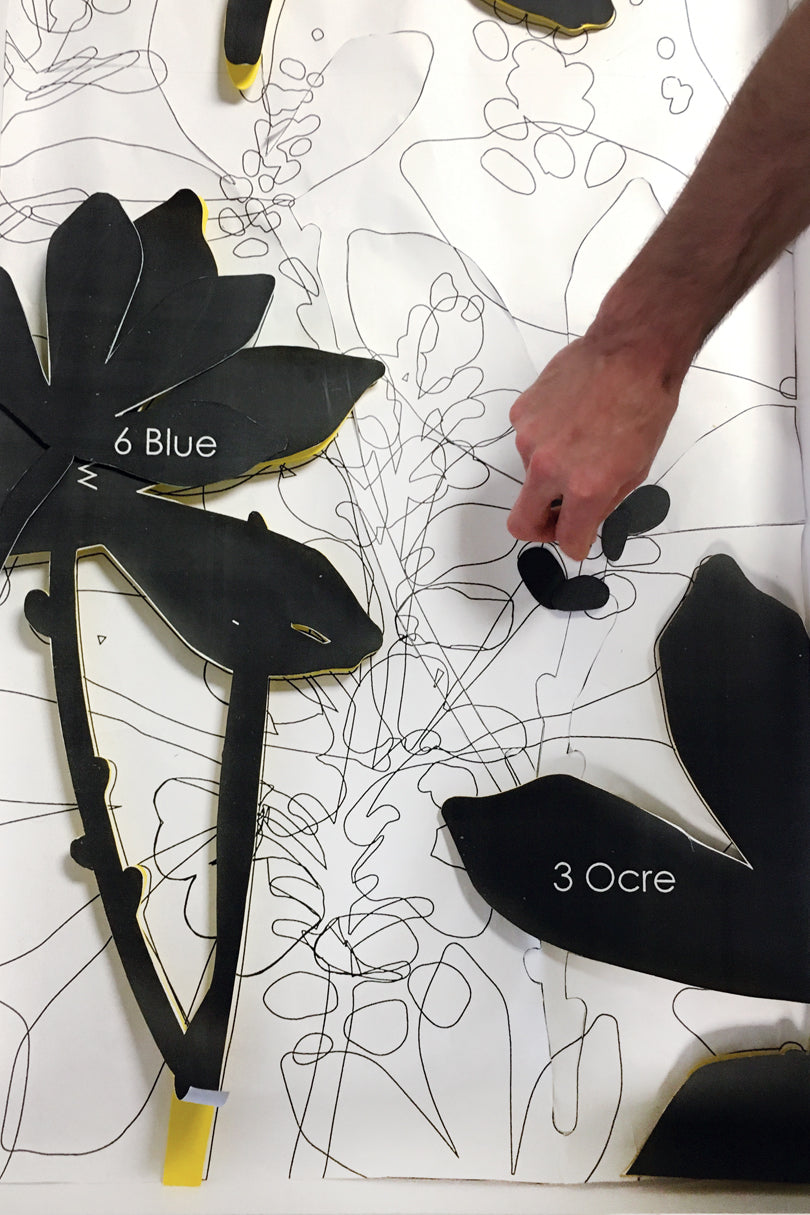 Finally, we began to assemble the cut-out floral and botanical shapes within the frame. I had outlines of the composition printed to-scale on large sheets of paper to serve as our “map.” I laid this down and temporarily placed the shapes in their respective places on top. Sabrina may add that this led to many head scratching moments as she tried to follow this map that apparently only made sense to me. With everything in place, I removed the map, channeling the magician who rips a table cloth from underneath a table setting albeit a bit more gently. I then peeled off the stencil paper we had temporarily adhered with the aforementioned miracle Easy-Tack.
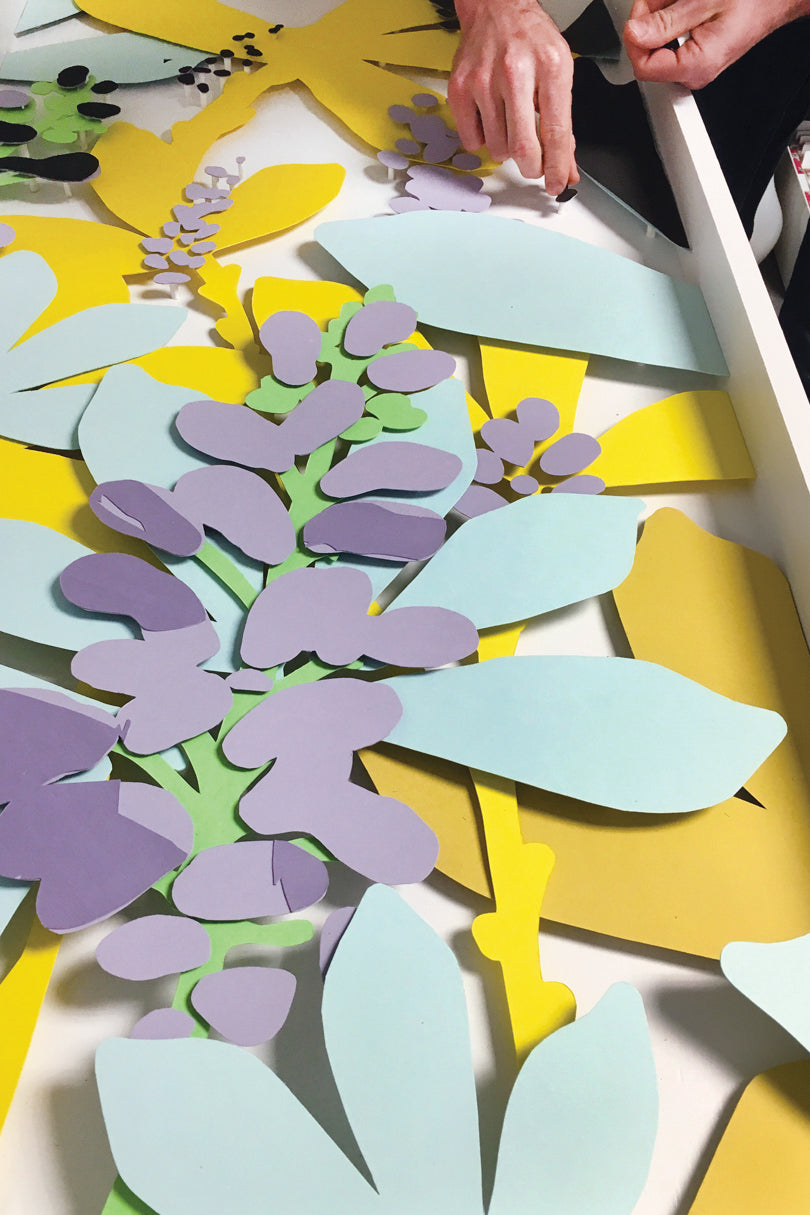 And AT LAST, we were able to permanently glue all of the spacers and their adjoining shapes to the installation frame and their neighboring layers. To make sure nothing would come apart during transport, we boarded and shrink wrapped each of the frames and then shrink wrapped them again for extra measure. April, Eric, and Deb did an awesome job setting them up in the booth. I joined them later in the show, and I must say everything came together looking pretty darn spiffy. Had I known this would take a solid month and a half of work and leave us with temporarily arthritis-ized—again I realize not a word—hands? Nope. Would I ever take on another paper installation project? Absolutely.